Monday, February 25, 2013

Upcycled: The Hutch

My Grandfather willed me a few of his furniture pieces upon his passing and one of the items was this beautiful Ethan Allen hutch: 


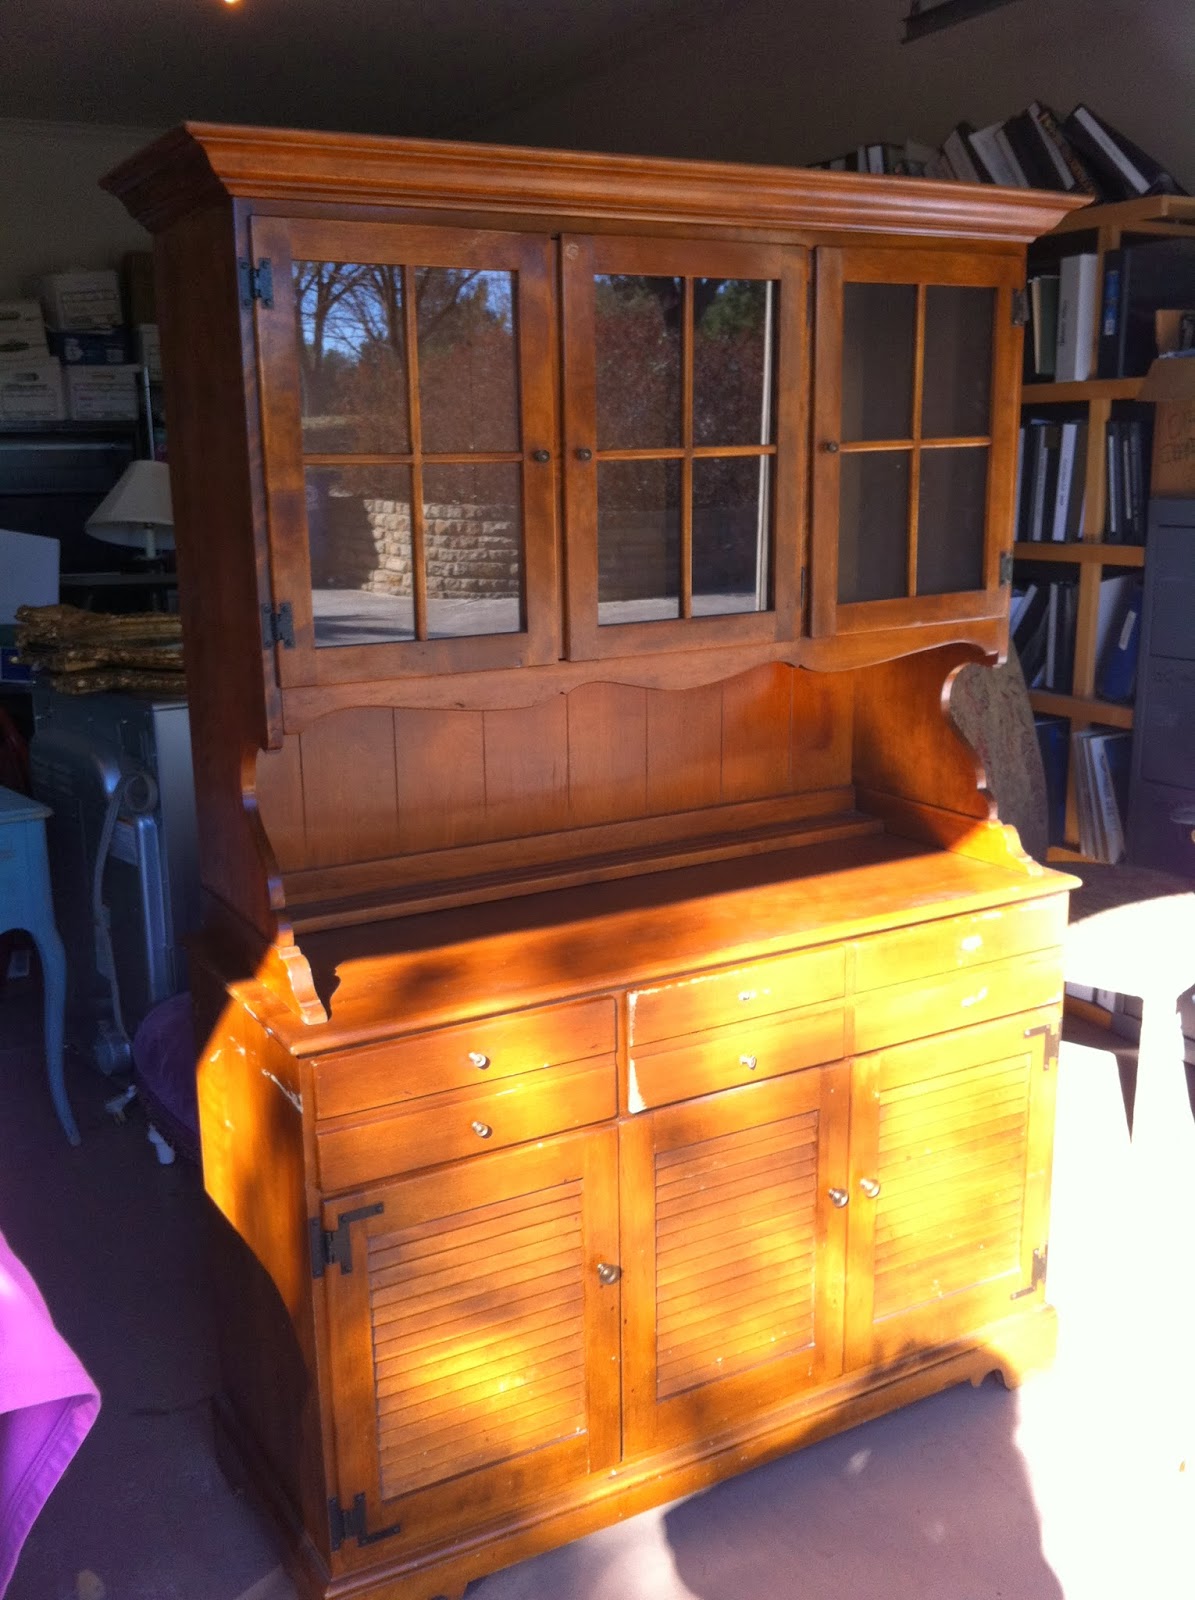
I really loved the natural wood look of the piece, but it didn't quite go with my style and the rest of the furniture in my house, so I decided to "upcycle" it. 

First: sand down the entire surface of the hutch and tape off the parts that you do not want to paint. 

(Originally I wanted to keep the inside of the doors natural wood, but once it was painted, I loved the white so much that I decided to use more paint then less).


After sanding, prime the entire piece, let dry and gently sand again. 
(Photo: white primer)


"Lilly" by Valspar -- my favorite "white" ... it has an off-white feel to it. Not too yellow, not too white. 


After painting all over, sand down the places where you want your piece to look "worn."


Finish off with cute knobs and you're done! Enjoy your new upcylced focus point!! 


Thursday, February 14, 2013

A Little Piece of Texas

My boss gave me a leftover gift basket from the Holidays. This was a "Texas" themed gift basket and therefore it had a Texas shaped body. At first thought, I was thinking I could use it for it's original purpose--as a basket, but then I realized that there's so many other things I could do with it. 


So, I decided to do the "nail-string wrap" that floats around Pinterest since the wood was already in the shape of Texas! 

First Step: Unravel the basket weave. 


Second: after you have you're cut out, paint it whatever color you desire!


The start hammering nails close together. For this I chose #10 carpet nails because they are dark and every nail is just a bit different than the one before! 


Once you're finished with the border, choose the placement (and symbol) of the center holster. 


Tack the symbol in place and then start hammering around the border.  


Once you've completed your center symbol, start to wrap your string. I chose to go with two different types of string: multicolored yarn and I went back over it with a traditional white string (the type that you would use to make a friendship bracelet).


String one is complete! 


String two: I decided to do string one straight and uniform and then string two I decided to go a bit crazy since it was the top layer!


And here's the final result! There's still a few nails I would like to adjust, and I need to fasten hangers on the back, but for now it's messy and unique like me and I'm happy with the turnout! 


Tuesday, February 12, 2013

Wine Crate Shelf @ Wedding


My shelf was used at a wedding this past month! It looked so beautiful in the vestibule with many decorative and commemorative items displayed!